


Debugging SQLite for HarmonyOS Devs

Storing data in a relational database is done via the RelationalStore APIs. This is a lightweight framework for performing operations on a local relational database.
Whilst the framework is database agnostic, currently SQLite is the supported database engine.

Out of the box, HarmonyOS (OpenHarmony, aka OHOS, or Oniro) does not provide a way to access the onboard SQLite database. At some point during app development, you are going to need access to inspect database state and schemas.
Luckily, it’s relatively easy to enable database access by adding SQLite command line capabilities to query the database via the shell on your device.
Compiling sqlite3 cli for OHOS
We are going to use the OHOS SDK to compile SQLite for a command-line executable.
Environment Setup
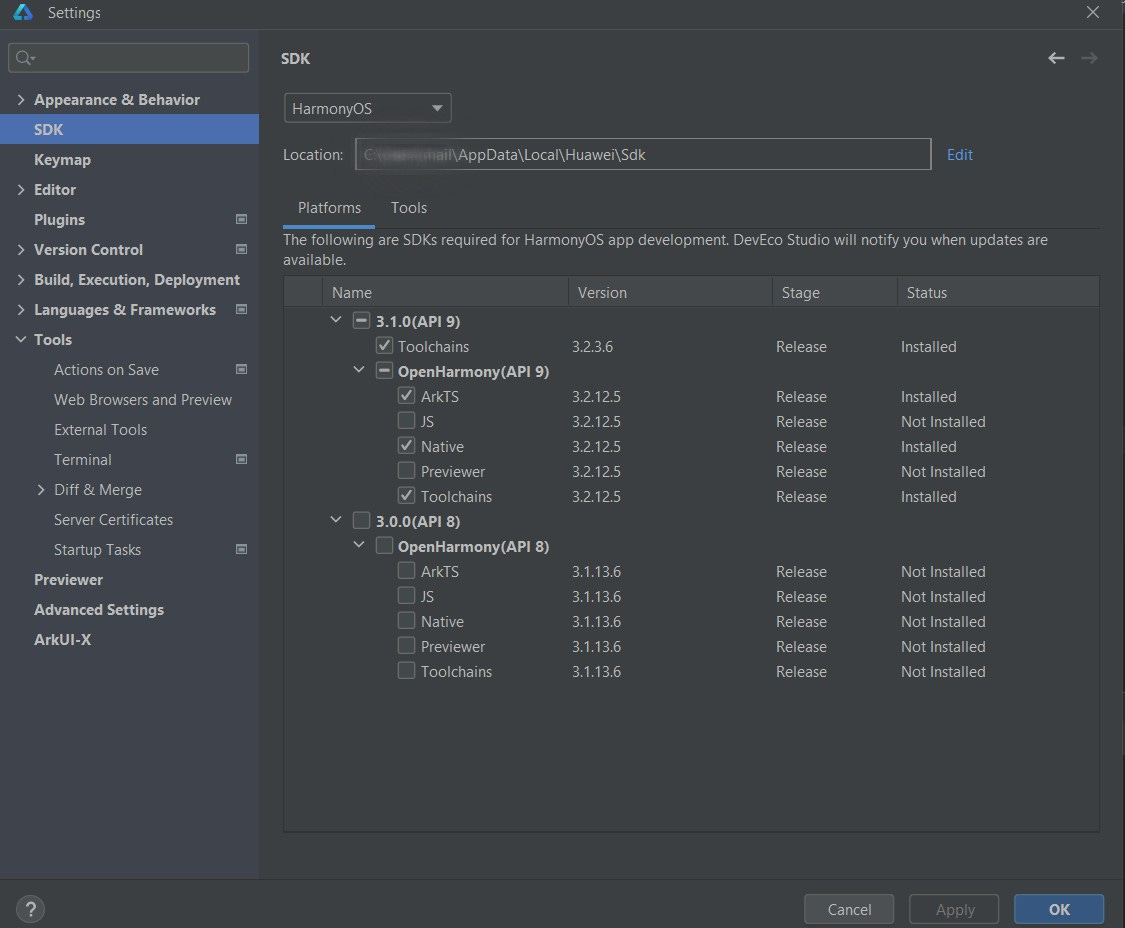
Firstly we need the OHOS sdk. If we have DevEco Studio installed, you will have the SDK. Find the location by looking here:
Otherwise, download the SDK from here and unpack all the zip files found in the tarball.
Let’s set the necessary environment variables so that compilation uses the SDK.
export OHOS_SDK_DIR=<dir containtin the sdk>

export CFLAGS="-fPIC"
export CC=$OHOS_SDK_DIR/native/llvm/bin/aarch64-unknown-linux-ohos-clang
Note that in the example above we are compiling to run on an Arm-based device. You will find clang options for xxx and xxx as well. Just set the CC environment variable based on your target architecture.
Compile the source code
Download the SQLite source code from here: https://www.sqlite.org/download.html
As of time of writing, the latest source was : https://www.sqlite.org/2024/sqlite-amalgamation-3470000.zip
In the source code directory, run the following:
$CC -O2 -o sqlite3 sqlite3.c shell.c -ldl -lpthread You will find the compiled binary (sqlite3) in the source directory.
For more details on compilation options see: https://www.sqlite.org/howtocompile.html
Installing on your device
Do the following to get sqlite3 on your device and make it runnable.
We will be use the hdc tool. This can be found in the SDK. If you have DevEco Studio installed, hdc will be available in the SDK directory used by the IDE.
# Get the ID of the device to send to
hdc list targets

#First make the filesystem writeable
hdc -t <device-ID> shell mount -o remount,rw /

#Send sqlite3 to the device
hdc -t <device-ID> file send <local-path>\sqlite3 /data/local

#connect to your device
hdc -t <device-ID> shell

//inside the device shell

#make sqlite3 executable
chmod a+x /data/local/sqlite3

#test this works by
/data/local/sqlite3 --version

#Put a symbolic link in the /bin dir
ln -s /data/sqlite3 /bin/sqlite3
Locating your database
Now that we have the SQLite cli available on our device, we need to know where to find the database files.
(A more in-depth article about the device directories for app developers is coming soon. Therefore I will not go into an explanation of the meaning of these paths.)
In the hdc shell, navigate to the following path.
cd /data/apps/el2/100/database

#Look for your app package
ls -la

#Navigate to the app's db directory. Typically you'll find it at 'rds'
cd <package-name>/rds

#Connect to the database
sqlite3 myDatabase.db
I should note here that the RDS framework gives you some options for naming the database file and specifying a custom path. This custom path, will be relative to the directory above.
A further note is that the ‘el2’ path assumes that your app does not have an elevated security configuration. We will write more about that topic in another article.
Some useful commands
There is very good documentation on the SQLite website, but here are a few useful commands.
Connect to a database:
sqlite3 <path>/<filename>.dbList tables in a database:
sqlite> .tablesShow a table schema:
sqlite> .schema <table-name>View all CLI commands:
sqlite> .helpExit an SQLite session:
sqlite> .quit